


How to Make a Survival Shelter
While most of us carry a tarp or tent, there could be a time when you don't have any overhead coverage available. This is when the ability to build a shelter from natural materials becomes very useful. When built correctly, a natural shelter can provide not only overhead cover but also insulation.
In this post, we'll explore how to build a debris shelter, aka a debris hut, that should keep you warm down near freezing temperatures, assuming you have proper clothing during your night out.

While our example shelter uses pine needles and hardwood leaves, any leaf litter or grasses can be used. Some might be easier to gather than others, but the principles remain the same. Also, it's worth noting that the construction methods we're using are just one of the ways to build a debris shelter for survival.
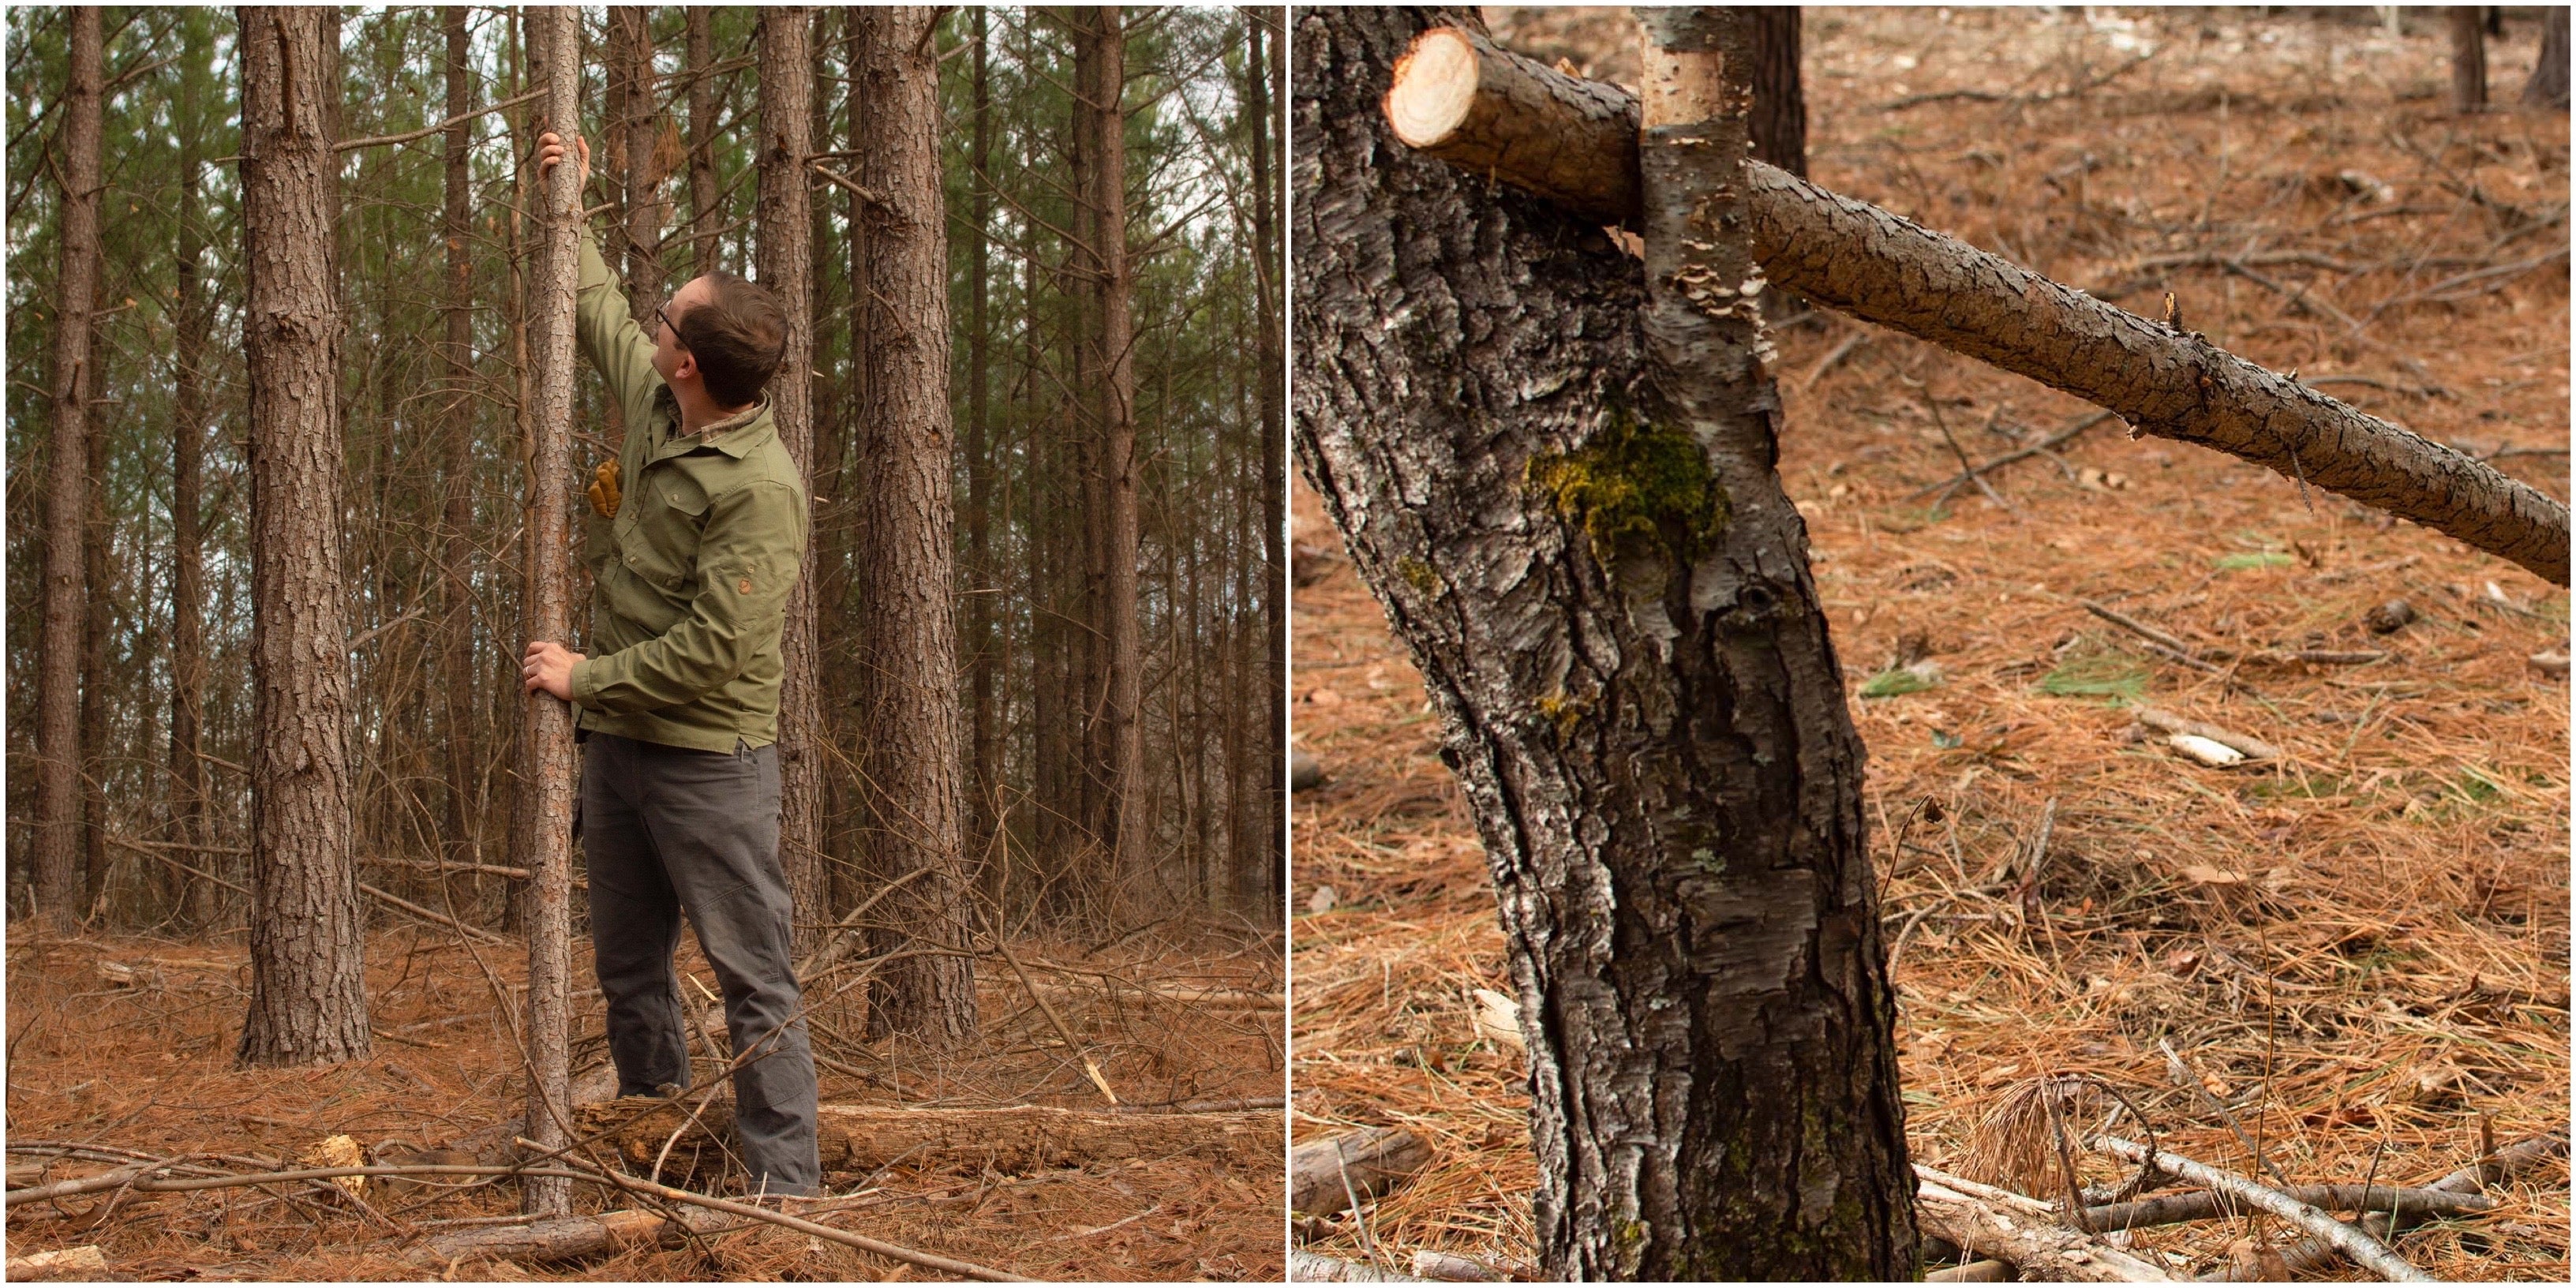
Your first step is to pick a suitable location. A comparatively dry floor that's free of roots and rocks is ideal. You also want to pick a spot in close proximity to the bulk of your materials. This will minimize the time you spend walking back and forth and the time you spend on the project. Don't forget the basics of shelter location, and make sure the spot has good drainage and it's free of overhead deadfalls.
![]()
Before you start on the actual construction, consider the modes of heat transfer you'll be combating. Convection, conduction, and radiation. You need to consider these when choosing your location because radiation and your location go hand-in-hand. A shelter in direct sunlight will absorb some of that heat and radiate it after sunset. You also want to make your shelter as small as possible so the heat radiating off of your body doesn't have to warm a large volume of air. Eight to ten inches of space on both sides and above you should give you enough room to move around but also be relatively easy to keep warm. This is no time for claustropobia.
READ MORE: Best Bushcraft Coffee Methods
Also, a good shelter will keep the wind out and therefore keep that warmed air in the shelter with you. This aspect is where convection, or the movement of air, comes into play. A shelter that allows air to travel through will lose most of the heat you're generating very quickly. The last method of heat transfer, conduction, is the loss of heat through direct contact, and the mattress will be your best defense against losing heat to the cold ground.
With all of that in mind, it's time to start construction. Finding a solid piece of wood to act as your main beam is imperative. This will hold the weight of all of the other components. You can prop up both ends of the beam or allow one end to rest on the ground. Before proceeding, ensure that the end, or ends, that are off the ground are secure. You can do this by using a Y in a tree or lashing them with man-made or natural cordage.
Next, I like to add a small retaining wall at the front of the shelter. A couple of forearm-sized sticks will keep your bedding from working its way out. Now you're ready to start on the walls. You'll want to collect enough sticks to line the majority of the walls on both sides. For added structural integrity, alternate the sticks from side to side so that the tops are interlocking. Be careful to avoid rotted wood so the walls don't cave in under the weight of the leaves or pine needles. The tops should stick up just a couple of inches above the main beam.
 You should try to align the sticks at a 45-degree angle when placing them. This will allow water to run off without making the walls too steep to hold the debris.

Now it's time for the most time-consuming portion of the shelter build, the gathering of insulation materials. If you have a shemagh or similar piece of material, it will greatly assist in gathering materials. Lay it out flat, pile material on top, and carry the bundle back to your shelter location. This is much faster than taking handfuls at a time. Start at the bottom and work your way up the sides of the shelter. Also, try to minimize the number of sticks in your insulation layers.

You want to aim for 24 inches of insulation if the temperatures are anywhere near freezing. If the night is expected to dip into the low 50s or high 40s, you can probably get by with 16 inches if you're properly dressed.

When you find some particularly dry or fluffy leaves add those inside your shelter. The mattress is just as important as the walls when it comes to staying warm. The moisture and ambient temperature of the earth will rob you of heat and make for a miserable night. A good target is around 10 to 12 inches of debris inside the shelter. This will compress significantly, but it should leave you with plenty of space between you and the dirt. Once you've gathered your mattress, just wiggle your way in and work out any uncomfortable high spots.

Lastly, you'll want something for a door. If you have a pack, you can wedge it into the opening. Otherwise, you can pull a large bundle of debris in after you're snug inside the shelter, or if you're feeling crafty and have time, you can fashion a door.
One last piece of advice. Practice making one of these shelters before you need one. Not only will it help you work out some of the nuances, but it will also show you how long it can take to gather all of the required branches and insulation. Even in an ideal location, our example shelter took 90 minutes to construct with two people working on it.

